LED&KEY Module - TM1638
The LED&KEY Module - TM1638 documentation is work in progress. I will publish more comprehensive docs about this soon.
Overview

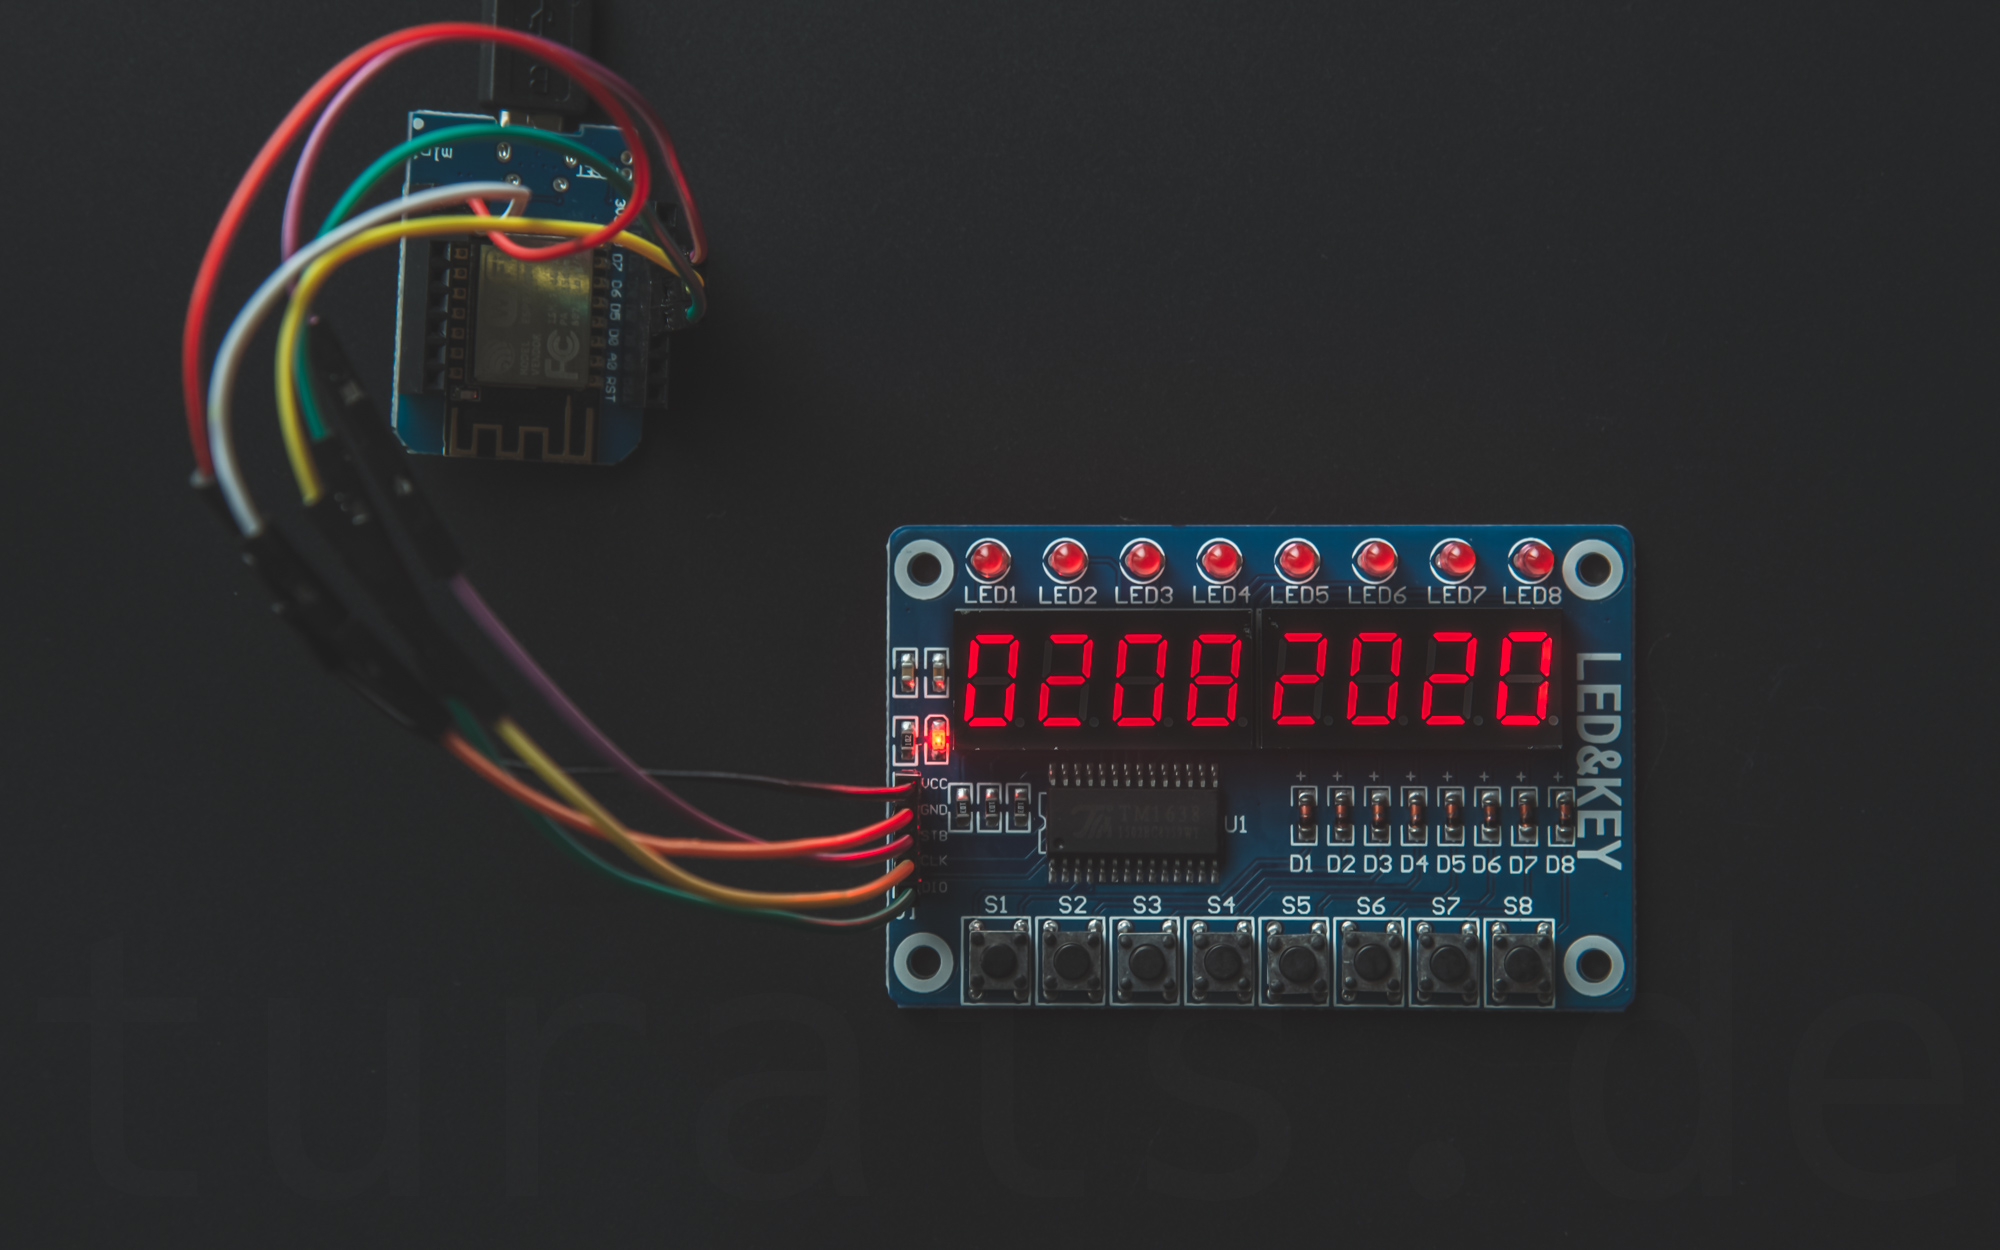
LED&KEY
The LED&KEY Module is an ideal module if you want to test your code. Before testing it in a live environemnt, like when triggering valves, motors etc., you can easiliy test your code with this module. It has a user input with the 8 Buttons. Output can be shown with the 8 7-Segment displays. Also there are 8 LEDs available.
Blog
Read more about this module in my Blog: https://www.turais.de/led-and-key-module-tm1638/Connection
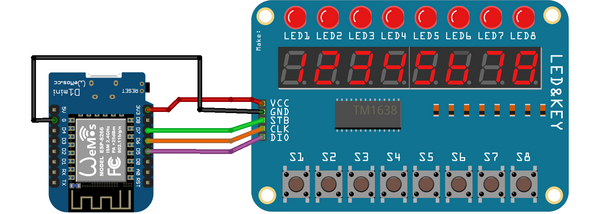
Connection of the WEMOS D1 Mini (ESP8266) with the LED&KEY Module
| Wemos D1 Mini PIN | LED&KEY Board PIN | Remarks |
|---|---|---|
| 3v3 | VCC | +3.3V |
| G | GND | Ground |
| D5 | DIO | Data I/O |
| D6 | CLK | Clock |
| D7 | STB | Standby |
Usage
The usage of the module is self-explanatory.
Code
Libraries
I forked the https://github.com/rjbatista/tm1638-library library because the original library
would not work with min-functions.
The library works with the ESP8266.
Import the library:
#include <TM1638.h>
Initalize the library with your pins.
///    ledkey_module(DIO, CLK, STB);
TM1638 ledkey_module(D5, D6, D7);
Examples
How do I power an LED?
With the tm1638-library from above you can do the following:
ledkey_module.setLEDs(led_state);
where led_state is an byte representing the leds which are lighting up.
For example:
| Bit# | 8 | 7 | 6 | 5 | 4 | 3 | 2 | 1 |
|---|---|---|---|---|---|---|---|---|
| 2^8 | 2^7 | 2^6 | 2^5 | 2^4 | 2^3 | 2^2 | 2^1 | |
| VAL: | 0 | 0 | 0 | 0 | 0 | 1 | 1 | 0 |
This would be the value: 0x06 in hexadecimal. For convenience you can use an enumeration like so:
enum {
   LED1 = 0u,
   LED2 = 1u,
   LED3 = 2u,
   LED4 = 4u,
   LED5 = 8u,
   LED6 = 16u,
   LED7 = 32u,
   LED8 = 64u
 };
and then:
ledkey_module.setLEDs(LED1 | LED5 | LED7);
If you want to set an LED without destroying the state before you have different options. Save the state in a global variable and then use an handy macro I wrote:
#define SET_BIT(A, i, val) \
        do{ A &= ~(1u << i); A |= (val << i); } while(false)
Using this macro is easy:
SET_BIT(led_state, number, val);
ledkey_module.setLEDs(led_state);
where number is your led beginning with 0 and value either 0 or 1.
Writing something to the Display
To write a String to the 7-Segment is really easy. You can do it like so:
String str = "0123ABCD";
module.setDisplayToString(str);
Reading Key Presses
To read the KeyPresses you have to constantly poll them an check the status. More on Polling here: Wikipedia: Polling
You can read the buttons with the library function: getButtons(). This call returns a byte in which every
bit represents a button that is pressed. I recommend that you poll at least every 100ms. You can vary and experiment with this value a bit if you like.
In your polling function it is recommended that you do this as little as possible.
I recommend something like this:
buttons = module.getButtons();
This will return a byte representing the buttons pressed. For example if you press only button 1 this value would be
0x01. If you want to check only one specific button press you can use the function with the enum below:
typedef enum {
  BTN1 = 1,
  BTN2 = 2u,
  BTN3 = 4u,
  BTN4 = 8u,
  BTN5 = 16u,
  BTN6 = 32u,
  BTN7 = 64u,
  BTN8 = 128u
} BTN;

bool get_pressed(const byte &state, const BTN check, ) {
    byte btn_state = (state & check);
    return btn_state / check;
}
In your code you can now check for a specific button:
if(get_pressed(act_reading, BTN2)) {
    //Button 2 was pressed
}
For a more comprehensive example check out my GitHub example at: GitHub Example
Example on Github
You can find a working example on Github: turais
Blynk Example
https://github.com/turais/ledandkey_example
Buy
The following links are so called affiliate links. If you click on that link and buy a product, I'll get a small amount of commission. There will be no additional costs for you :)
comments powered by Disqus